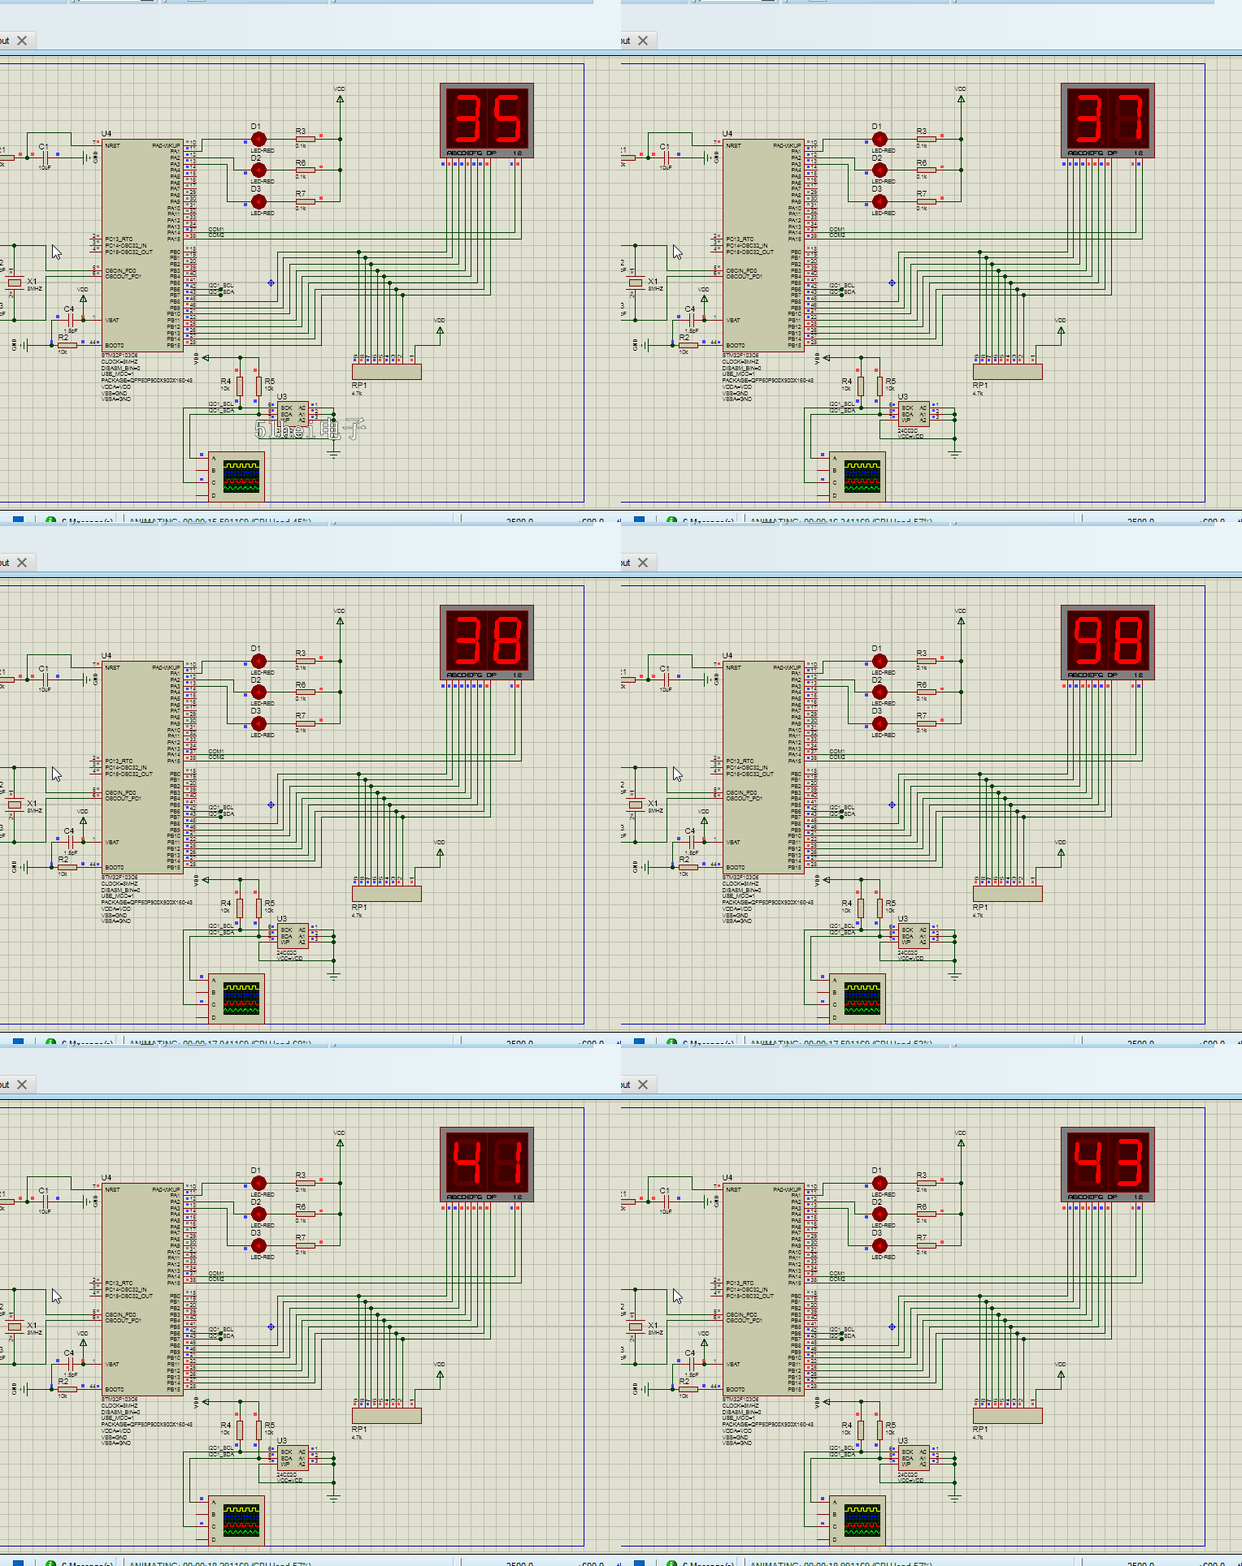
仿真原理图如下(proteus仿真工程文件可到本帖附件中下载)

单片机源程序如下:
- #include "stm32f10x.h"
- #include "stm32f10x_gpio.h"
- #include "stm32f10x_rcc.h"
- #include "LCD.h"
- #include "stm32f10x_exti.h"
- #include "misc.h"
- #include "core_cm3.h"
- #include "stm32f10x_it.h"
- #include "sysclk.h"
- #include "I2C1.h"
- // signed short seg_table[]={0xc000,0xf900,0xa400,0xb000,0x9900,0x9200,0x8200,0xf800,0x8000,0x9000,0x8800,0x8300,
- // 0xc600,0xa100,0x8600,0x8e00}; //共阳极
- // int com_table[]={0x4000,0x8000}; //位号
- void nvic_config()
- {
- NVIC_InitTypeDef NVIC_Initstrct ;
- NVIC_PriorityGroupConfig( NVIC_PriorityGroup_1);
- NVIC_Initstrct.NVIC_IRQChannel =EXTI15_10_IRQn;
- NVIC_Initstrct.NVIC_IRQChannelPreemptionPriority =0;
- NVIC_Initstrct.NVIC_IRQChannelSubPriority =0;
- NVIC_Initstrct.NVIC_IRQChannelCmd=ENABLE;
- NVIC_Init(&NVIC_Initstrct);
- }
- void gpio_init()
- {
- GPIO_InitTypeDef GPIO_initstrct;
- // EXTI_InitTypeDef EXTI_initstrct;
- RCC_APB2PeriphClockCmd( RCC_APB2Periph_GPIOA|RCC_APB2Periph_GPIOB|RCC_APB2Periph_AFIO, ENABLE);
-
- //nvic_config();//优先级配置
- GPIO_initstrct.GPIO_Pin=GPIO_Pin_1|GPIO_Pin_2|GPIO_Pin_3|GPIO_Pin_4|GPIO_Pin_5|GPIO_Pin_14|GPIO_Pin_15;
- GPIO_initstrct.GPIO_Speed=GPIO_Speed_50MHz;
- GPIO_initstrct.GPIO_Mode=GPIO_Mode_Out_PP;
- GPIO_Init(GPIOA, &GPIO_initstrct);
- // GPIO_initstrct.GPIO_Pin=GPIO_Pin_0|GPIO_Pin_1|GPIO_Pin_2|GPIO_Pin_3|GPIO_Pin_4|GPIO_Pin_5|GPIO_Pin_6|GPIO_Pin_7;
- GPIO_initstrct.GPIO_Pin=GPIO_Pin_6|GPIO_Pin_7|GPIO_Pin_8|GPIO_Pin_9|GPIO_Pin_10|GPIO_Pin_11|GPIO_Pin_12|GPIO_Pin_13|GPIO_Pin_14|GPIO_Pin_15;
- GPIO_initstrct.GPIO_Speed=GPIO_Speed_50MHz;
- GPIO_initstrct.GPIO_Mode=GPIO_Mode_Out_PP;
- GPIO_Init(GPIOB, &GPIO_initstrct);
- }
- int main(void)
- {
- gpio_init();
- sysclk_init();
- while(1)
- {
- display();
- }
- }
Keil代码与Proteus仿真下载:
 proteus_pro.7z
(251.24 KB, 下载次数: 101)
|