适用于初学者,双机对串口采用不同编程模式,增加对串口编程的认知。
说明:
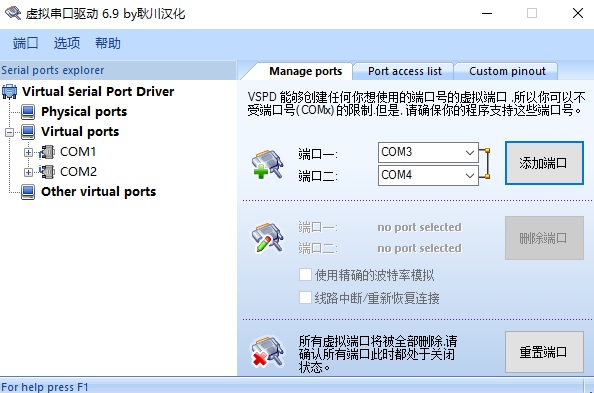
运行前,请安装Virtual Serial等虚拟串口软件,增加com1-com2。

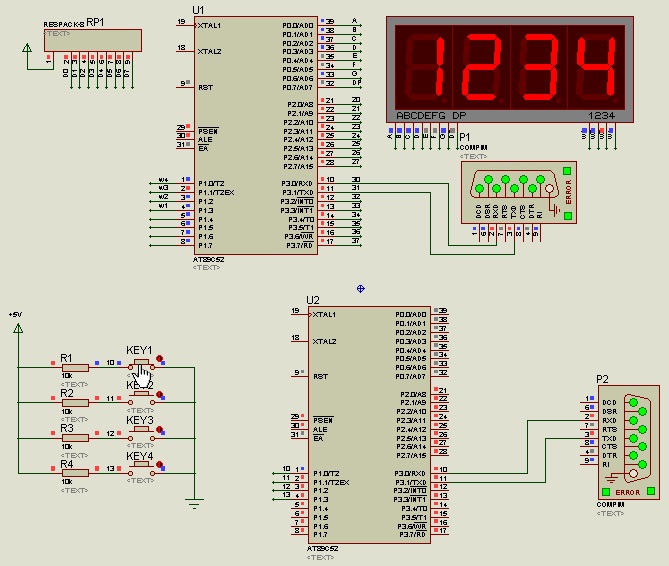
运行后,按下按键1即可发送数据至另一个单片机……

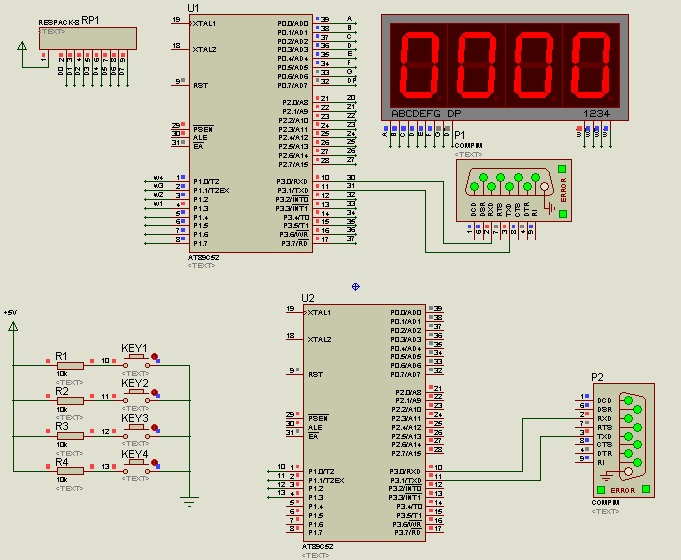
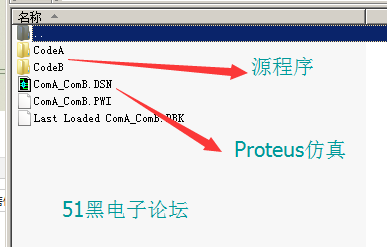
仿真原理图如下(proteus仿真工程文件可到本帖附件中下载):

单片机源程序如下:
- #include "reg52.h"
- #define uchar unsigned char
- #define uint unsigned int
- uchar code table[]={0x0c0,0xf9,0x0a4,0x0b0,0x99,0x92,0x80,0x0f8,0x80,0x90,0x0f7};
- uchar temp,count=0;
- uchar senddata[]={1,2,3,4,'\0'};
- uchar getdata[]={0,0,0,0,'\0'};
- void delay(uint z)
- {
- unsigned int x,y;
- for(x=z;x>0;x--)
- for(y=1000;y>0;y--);
- }
- void delayms(uchar i)//延时函数
- {
- uchar j,k;
- for(j=i;j>0;j--)
- for(k=125;k>0;k--);
- }
- void display(uchar A1,uchar A2,uchar A3,uchar A4)//显示函数
- {
- P1=0x08;
- P0=table[A1];
- delayms(10);
-
- P1=0x04;
- P0=table[A2];
- delayms(10);
-
- P1=0x02;
- P0=table[A3];
- delayms(10);
-
- P1=0x01;
- P0=table[A4];
- delayms(10);
-
- }
- //串口初始化,波特率9600BPS(晶振为11.0592M)
- void InitializeSystem()
- {
- SCON = 0X50;//串口方式1,允许接收
- TMOD = 0X20;//定时器1定时方式2
- TCON = 0x40;//设定时器1开始计数
- TH1 = TL1 = 250;
- PCON = 0x80; //波特率加倍控制,SMOD位
- RI = 0; //清收发标志
- TI = 0;
- TR1 = 1; //启动定时器
- EA=1; //开启总中断
- ES = 1;
- ET1=0;
- }
- //字符发送函数
- void putchar(uchar data1)
- {
- SBUF = data1; //将待发送的字符送入发送缓冲器
- while(TI == 0); //等待发送完成
- TI = 0; //发送中断标志请0
- }
- //字符串发送函数
- void putstring(uchar *dat)
- {
- while(*dat != '\0') //判断字符串是否发送完毕
- {
- putchar(*dat); //发送单个字符
- dat++; //字符地址加1,指向先下一个字符
- delay(5);
- }
- }
- //主函数
- void main( )
- {
- InitializeSystem( );
- while(1)
- {
- display(getdata[0],getdata[1],getdata[2],getdata[3]);
- }
- }
- ……………………
- …………限于本文篇幅 余下代码请从51黑下载附件…………

所有资料51hei提供下载:
 双机通信-51单片机.rar
(87.25 KB, 下载次数: 47)
|