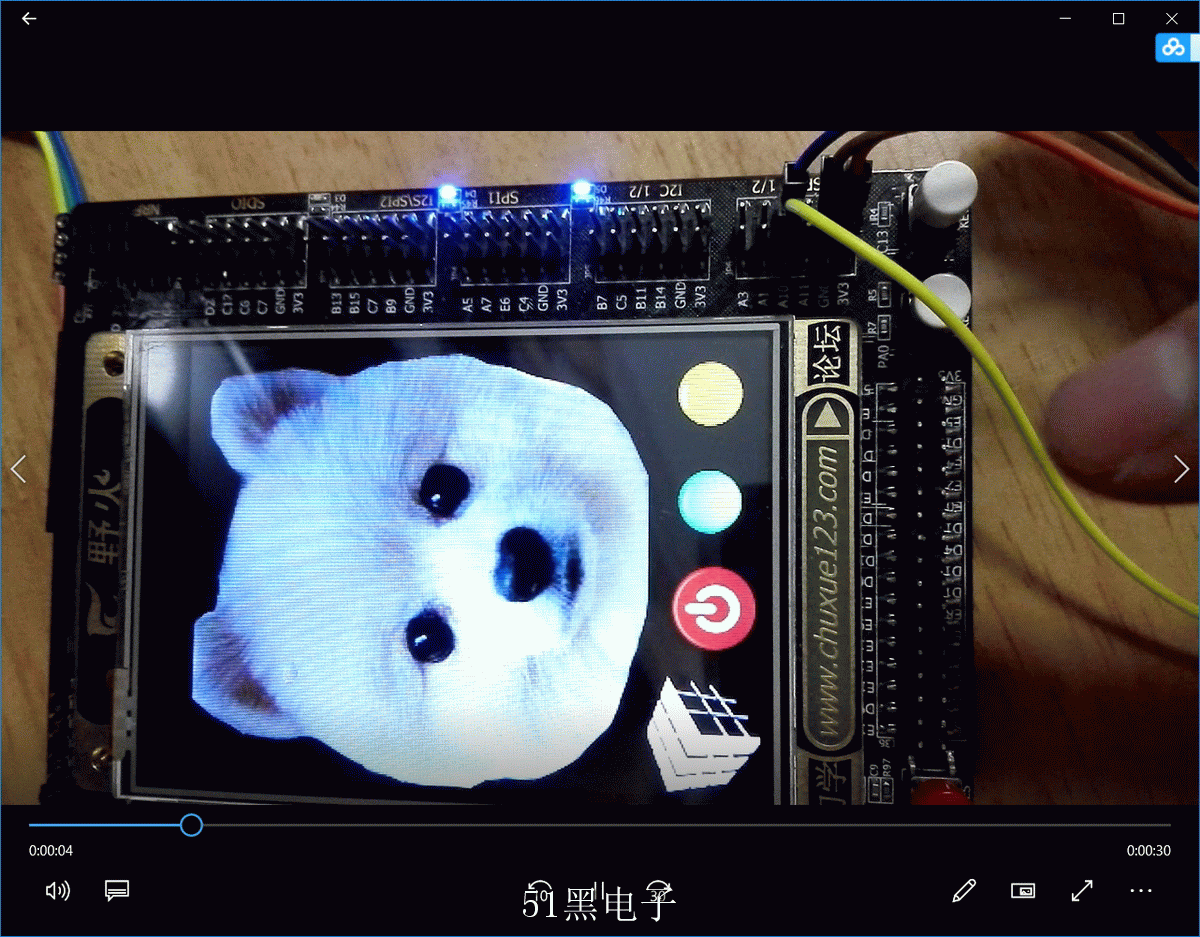
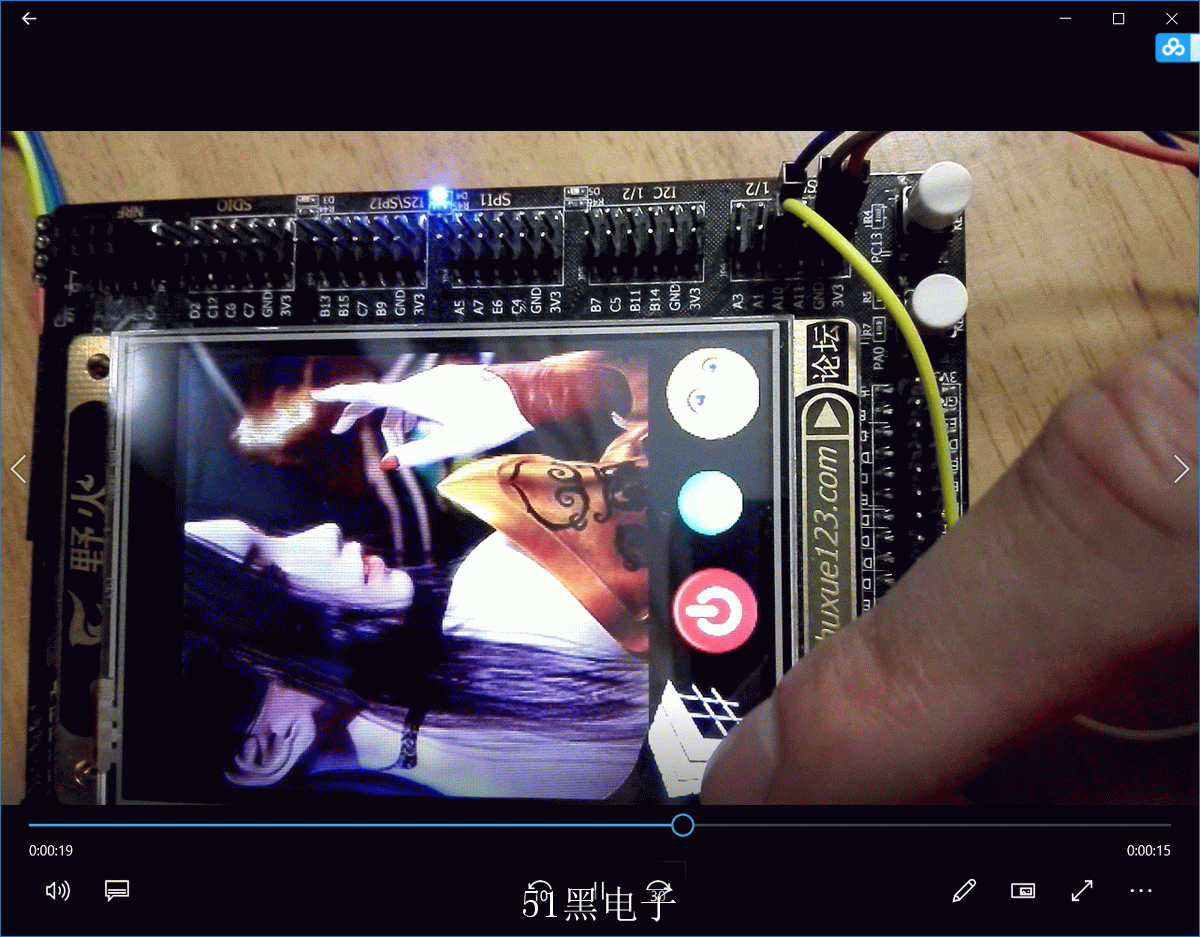
对入门的小伙伴很有帮助噢 ~


![T9]9O8FEK~0LA_JYTS.png T9]9O8FEK~0LA_JYTS.png](http://c.51hei.com/d/forum/201906/12/185439g060saf66k6af9fi.png)
单片机源程序如下:
- #include "stm32f10x.h"
- #include "public.h"
- #include "bsp_ili9341_lcd.h"
- #include "bsp_sdfs_app.h"
- #include "bsp_bmp.h"
- #include "bsp_SysTick.h"
- #include "bsp_touch.h"
- #include "bsp_spi_flash.h"
- #include "led.h"
- #include "even_process.h"
- /*
- 三个坐标系统的转换:
- 触摸屏:
- column 240
- x
- _ _ _ _ _ _
- ^ |
- | |
- | |
- | |
- | |
- | | 320
- | |
- | |
- | |
- | |
- | |
- | |
- (0,0) - - - - - -> y
-
- 液晶显示字体及清屏等函数:
- column 240
- x
- (0,0) ----------->
- | |
- | |
- | |
- | |
- | |
- | | 320
- | |
- | |
- | |
- | |
- | |
- | |
- V- - - - - -
- y
- 液晶显示图像:
- column 240
- X
- -----------A
- | |
- | |
- | |
- | |
- | |
- | | 320
- | |
- | |
- | |
- | |
- | |
- | |
- Y <- - - - - -(0,0)
- 转换关系:
- Y字 = 320 - X触摸
- X字 = Y触摸
- X图像 = X触摸
- Y图像 = 240-Y触摸
- Y图像 = 240 - X字
- X图像 = 320 - Y字
- */
- int main(void)
- {
- LCD_Init();
- LCD_Clear(0, 0, 240, 320, BLACK);//背景黑色
- Sd_fs_init();//初始化sd卡文件系统,汉字的字库
- SysTick_Init();/* 系统定时器 1us 定时初始化 */
- LED_GPIO();/* 初始化LED */
- LED(4,0);//全部关灯
-
- SPI_FLASH_Init();/* 初始化外部FLASH */
- Touch_Init();/* 触摸屏IO和中断初始化 */
- SPI_FLASH_BufferRead(&cal_flag, 0, 1);
- if( cal_flag == 0x55 )
- {
- SPI_FLASH_BufferRead((void*)cal_p, 1, sizeof(cal_p));
- SPI_FLASH_CS_HIGH();
- }
- //右下角是0,0。竖立是x,横向是y
- Lcd_show_bmp(60, 0,"/button/bg1.bmp");//背景的图片是260*240,因此320-260=60
- Lcd_show_bmp(0, 177,"/button/4.bmp");//左边红
- Lcd_show_bmp(0, 116,"/button/1a.bmp");//左边红
- Lcd_show_bmp(0, 58,"/button/2a.bmp");//中间绿
- Lcd_show_bmp(0, 0,"/button/3a.bmp");//右边黄
- while(1)even_process();
- }
- /******************* end of file**************************/
所有资料51hei提供下载:
 图片按钮控制LED开关.7z
(516.69 KB, 下载次数: 61)
|